Prekės aprašymas
We are tile manufacturers, specializacija gaminant plyteles su skirtingomis serijomis.
| Modelis | F88A020 |
| Medžiaga: | porcelianas |
| dydis(mm) : | 800x800 |
| storis(mm): | 9.6-10mm |
| absorbcija: | 0.5% |
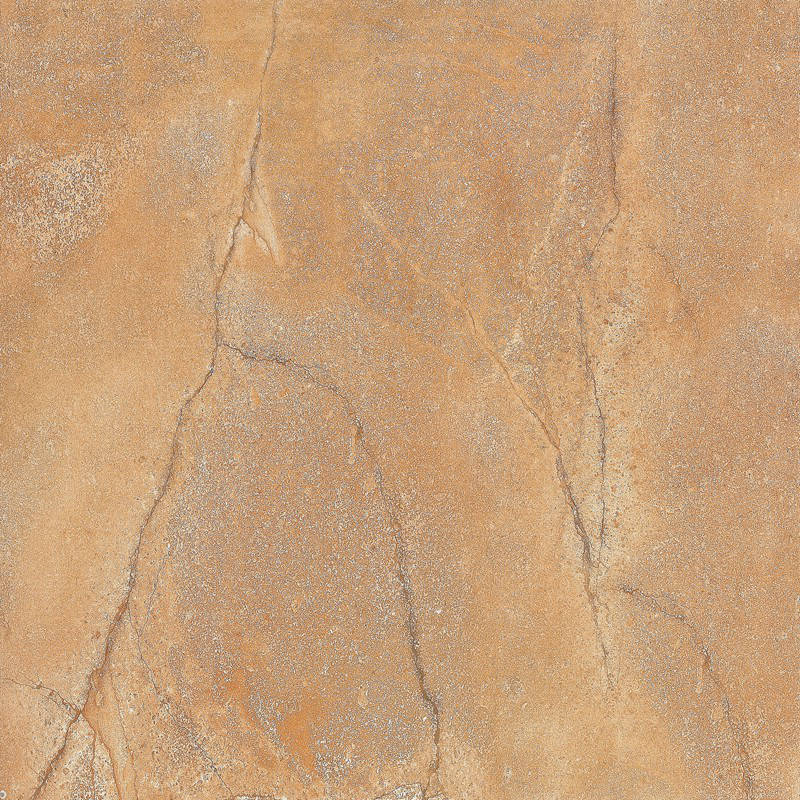
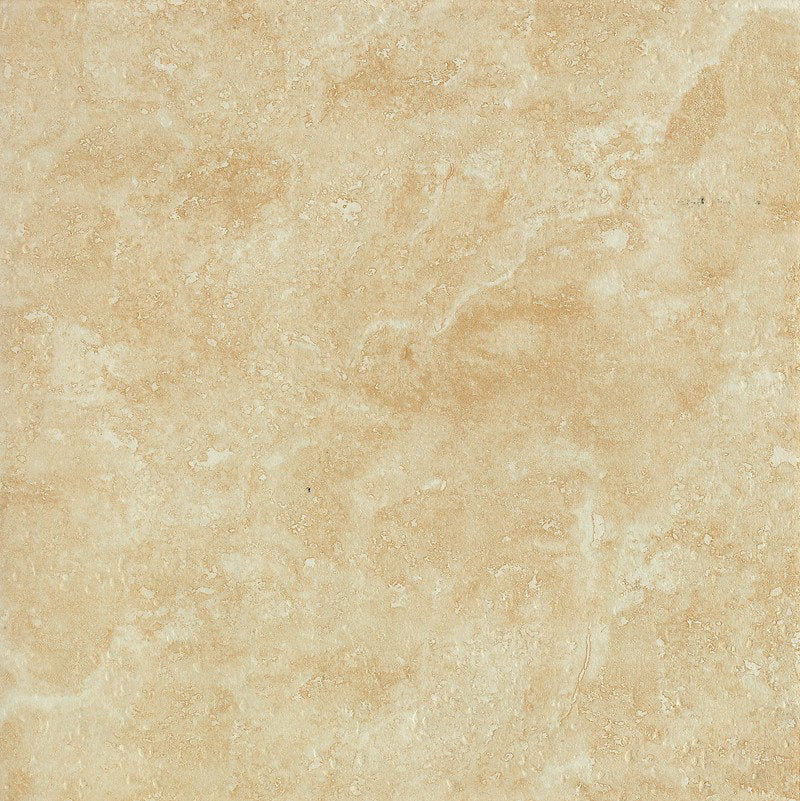
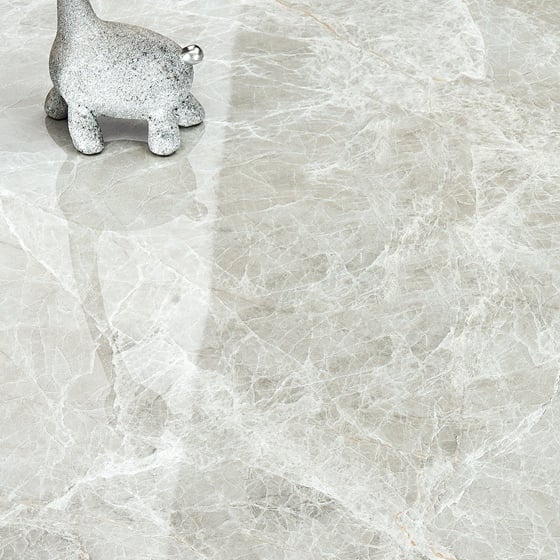
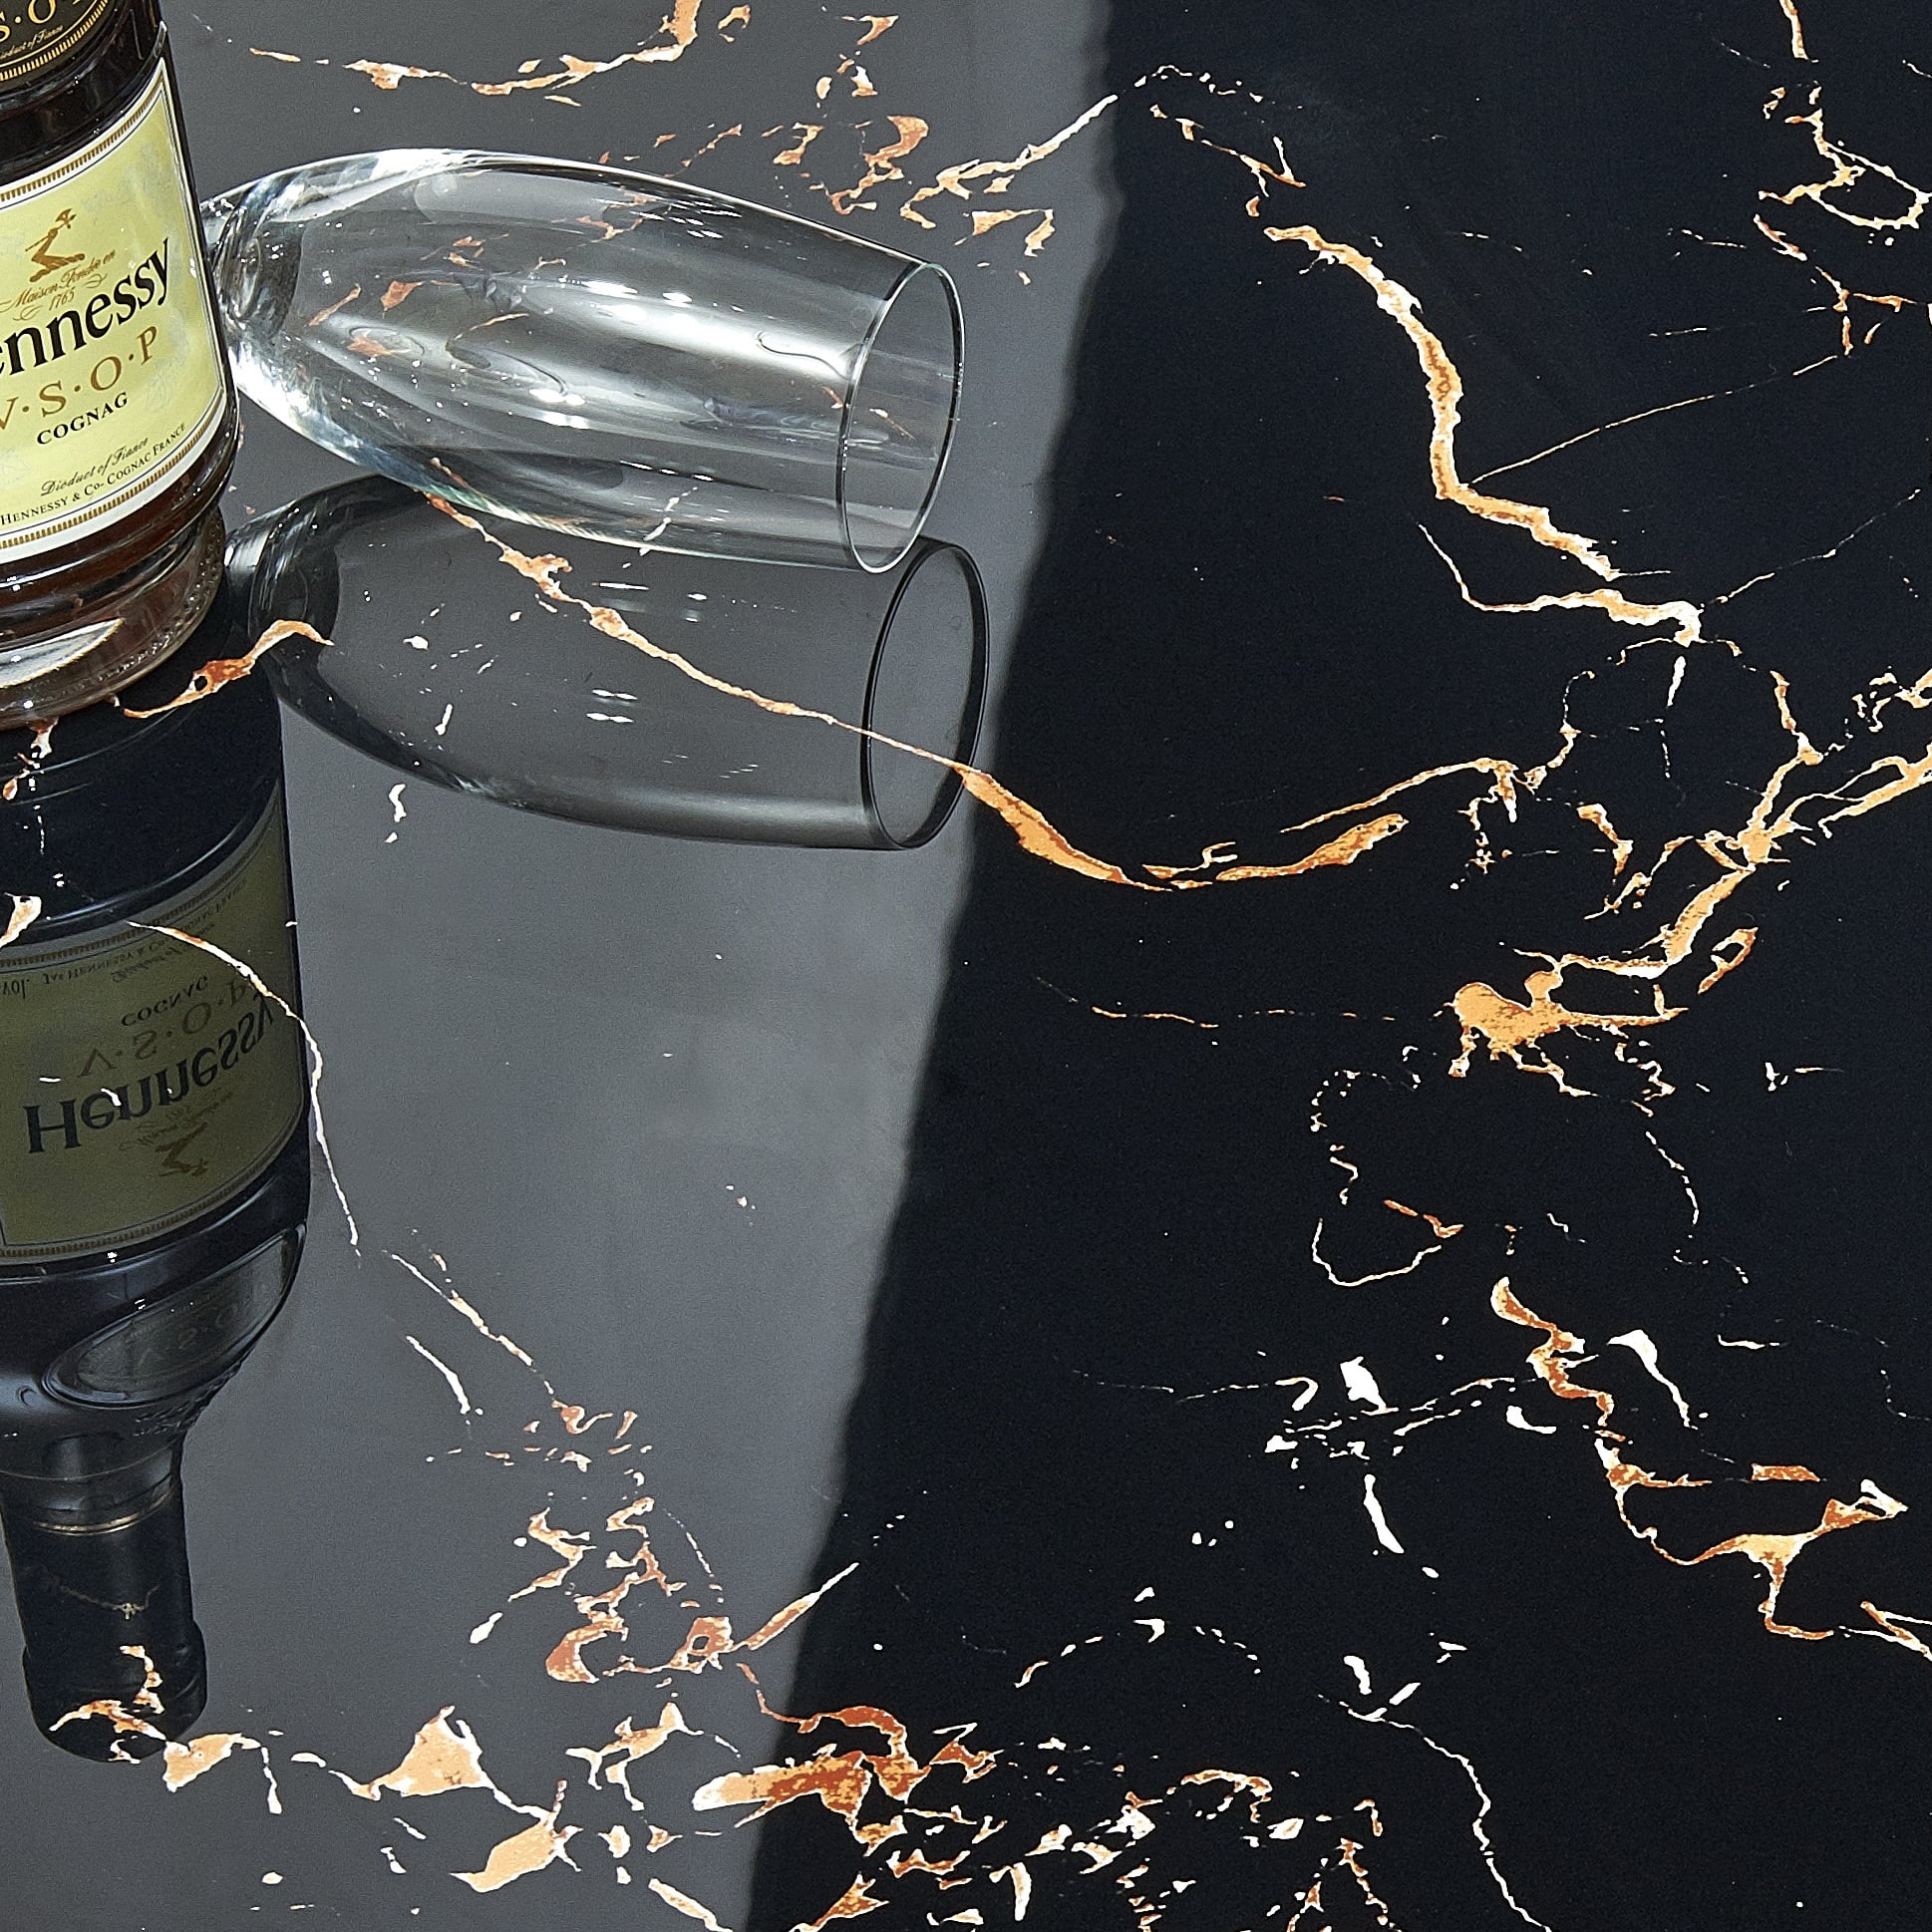
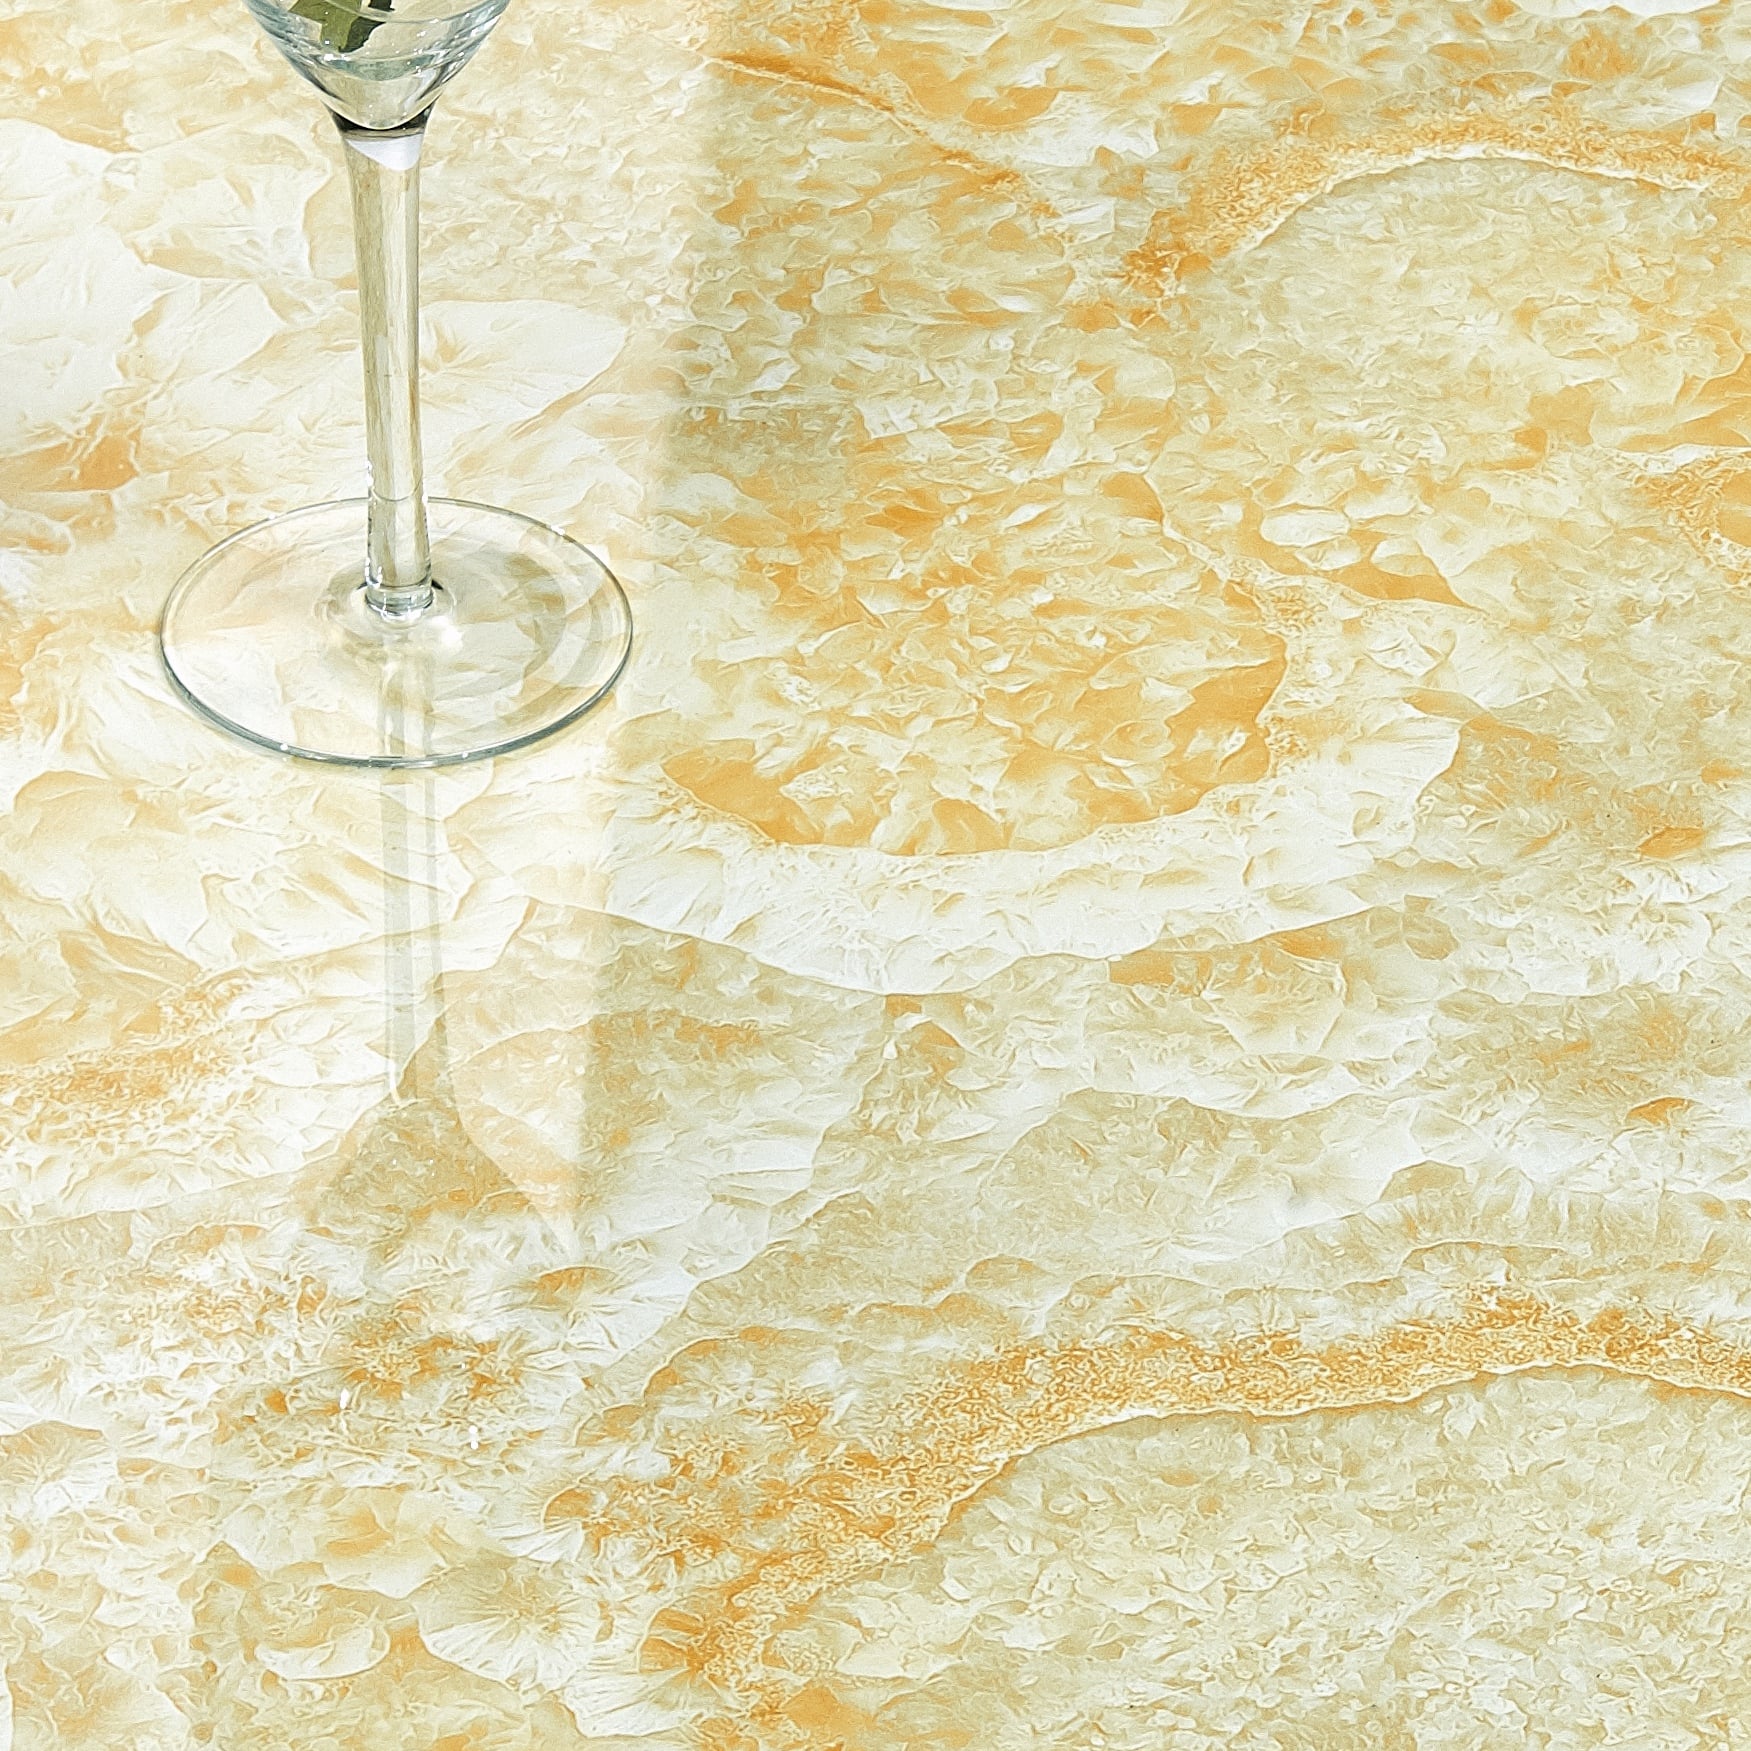
| spalva: | Available in all designs and ivory beige color |
| naudojimas: | Naudojamas grindims arba sienoms |
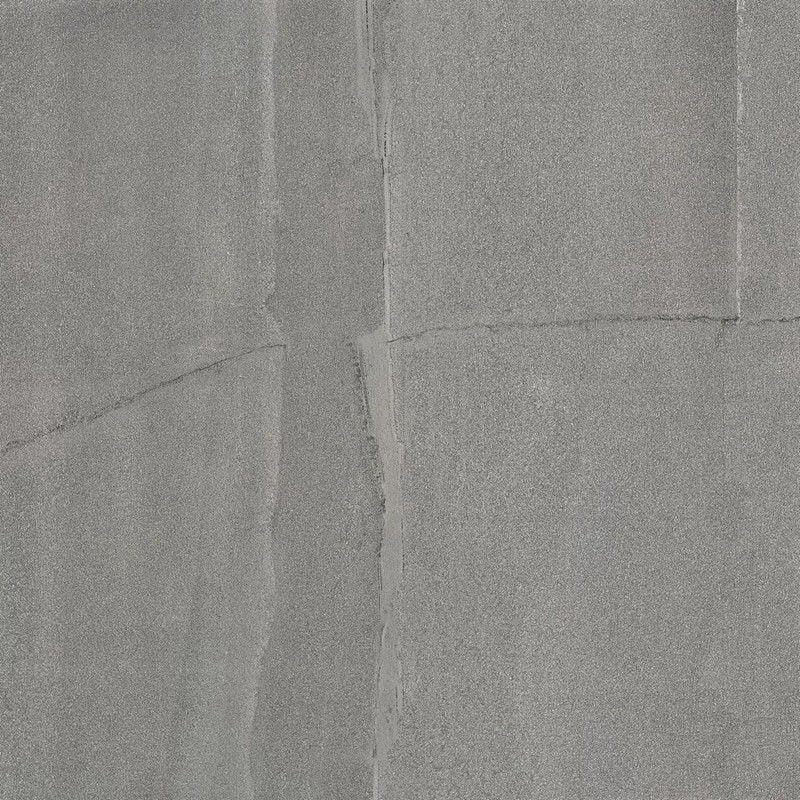
Beige ceramic tile with the smooth, glazed beige and ivory finish complements many decor styles and lends a welcoming, attractive appearance to your house.
This beige marble tile bathroom features a polished finish. Durable natural stone look porcelain tile is an affordable alternative to natural stone, and it looks great throughout the house. Plus, you can get the authentic look of stone with an easy-to-maintain surface, as ceramic tile porcelain tile is waterproof and doesn’t require sealing, durable and beautiful. this versatile beige ceramic tile is suitable for indoor use.
Produktų paroda


How to install ceramic tile
Installing a wall tile floor tile may appear to be beyond the abilities of some homeowners, but most DIYers can handle it.
1.Before you think about setting the wall tile floor tile in place with mortar, make sure that the layout is even from side to side in both directions.
2.Pick up the loose tiles and set them aside.
3.Use a notched trowel to spread thin-set mortar over a 3 x 3-foot section at the intersection of the layout lines.
4.Begin laying porcelain glazed tile flooring at the center point of the two layout lines, setting each porcelain glazed tile flooring into the mortar by tapping it gently with a rubber mallet.
5.Continue laying ceramic wall and floor tiles until you’ve covered the mortared area.
6.Continue the process by applying mortar to another section and then laying ceramic wall and floor tiles.
7.Fit the last tile in the row at the wall.
8.After all the tiles are set in the mortar, mix the grout according to the manufacturer’s instructions and install it by using a rubber grout float.
9.Wipe away the excess grout with a grout sponge. Let the grout dry slightly and then wipe off the haze that appears.

Produkto rekomendacija