
Product Overview
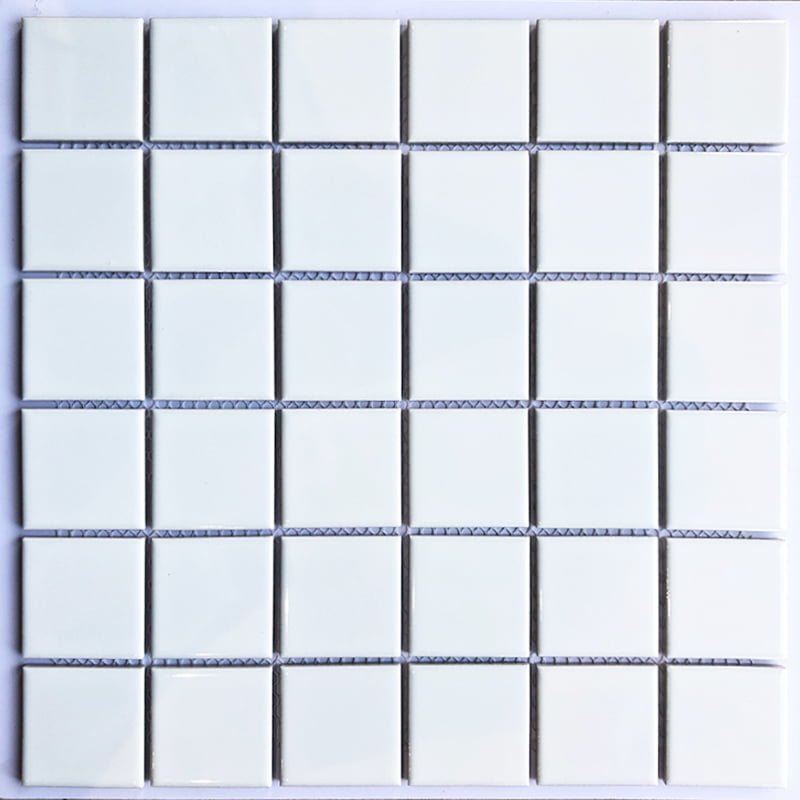
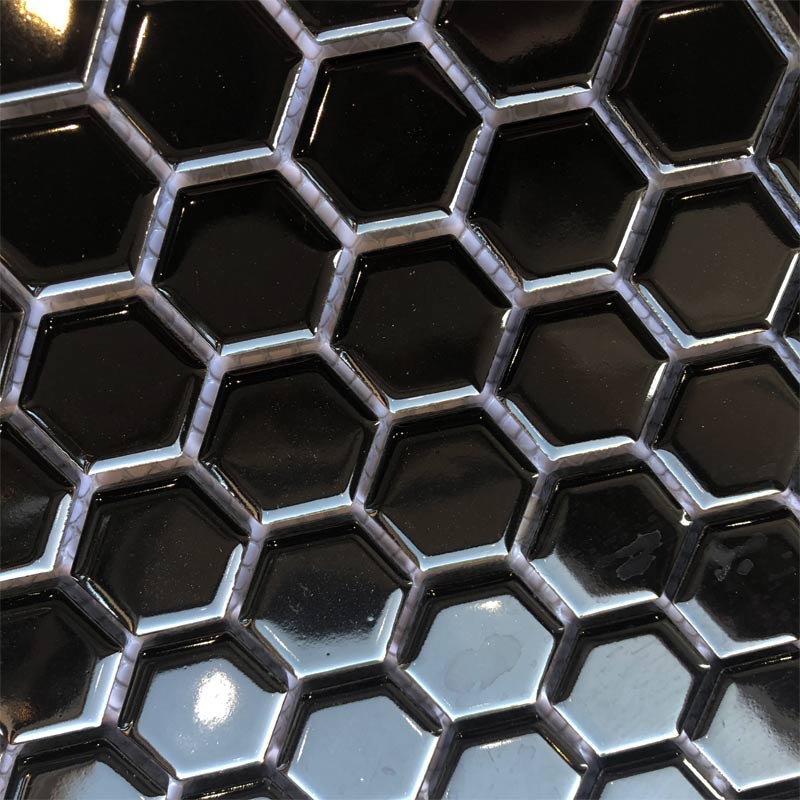
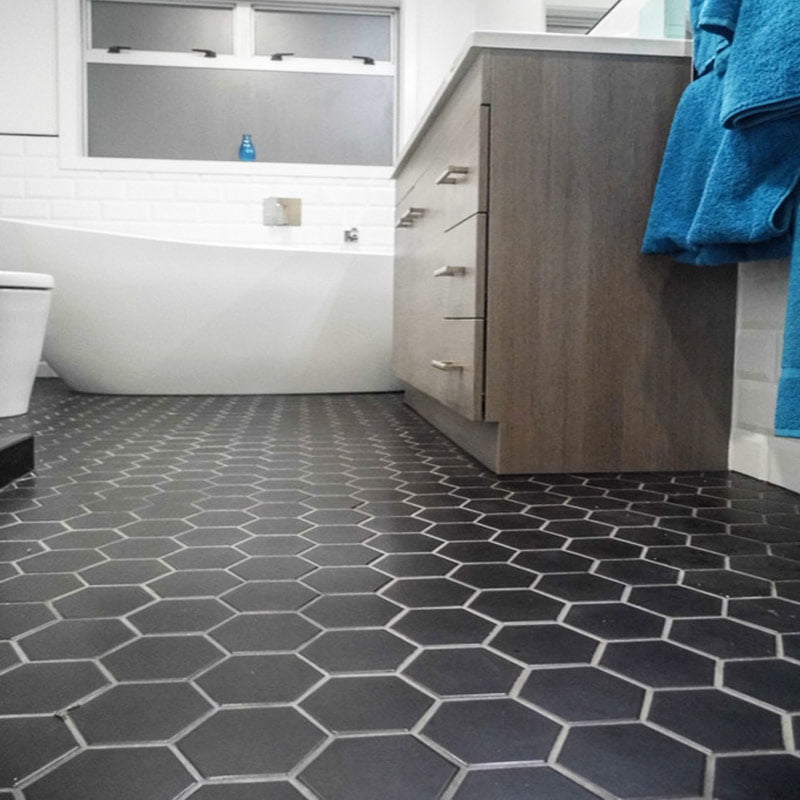
Item:Hexagon Mosaic Tiles - White Black Ceramic Mosaic
Material: ceramic
Size:25x26mm; Length300 x Diameter260mm;12.82piece=1sqm
Thickness:6mm
Surface treatment: Glossy
Color:White,Black, Gray
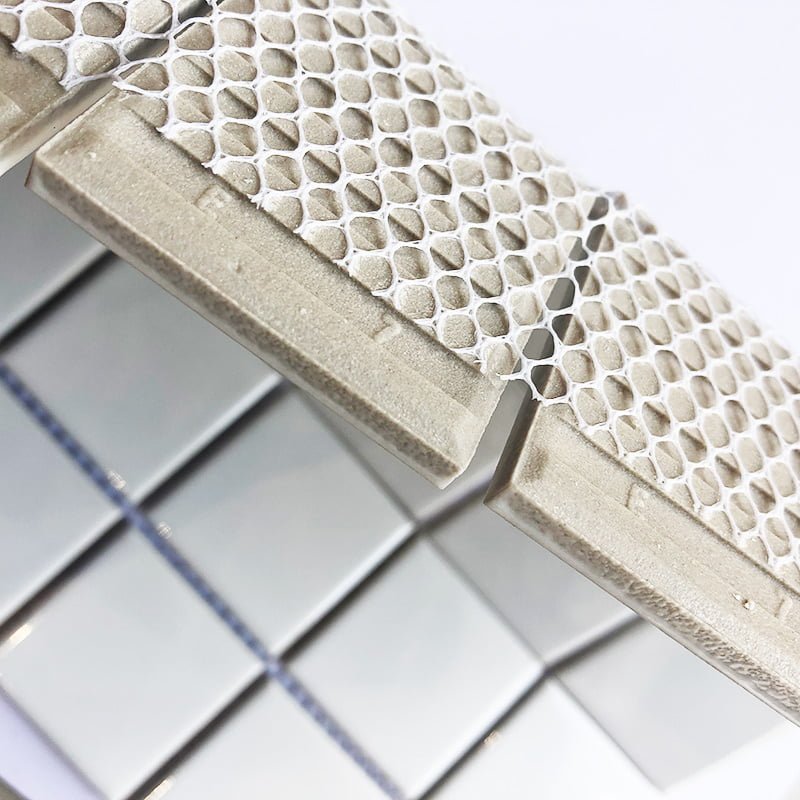
Backside process:Mesh backing
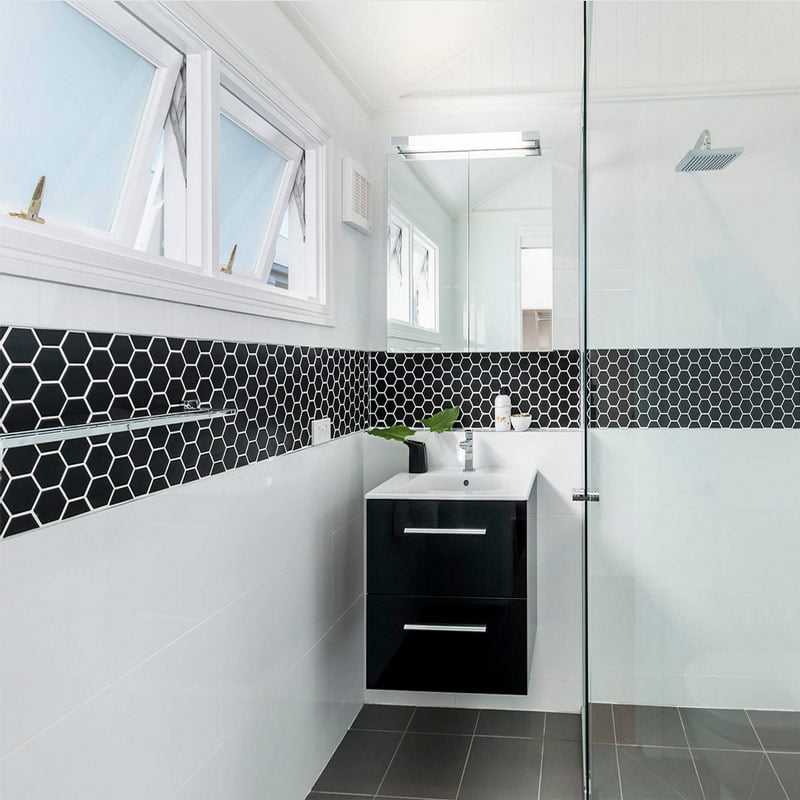
Applicable scene:bathroom, shower, kitchen, restaurant, Walls, floor...
Production time: it will take some time to produce (approx. 1-2 weeks) .
Craft type: Home improvement, Mosaic making
Package:20piece/carton;1.56m2/carton;
Inner packaging carton,The outer packaging is made of wooden pallets, and the wooden pallets are charged separately.
payment method:T/T; Western Union; PayPal,etc.
Shipping
Shipping costs will be determined by size, type, and location.
Our advantage:
Waterproof
Anti-slip
Fire prevention
Clients'case:


Related Products:

FAQ:
How much is your tile for Hexagon Mosaic Tiles - White Black Ceramic Mosaic?
Our tile ranges in cost per square foot, depending on the pattern and quantity you order. When you browse our tile products, retail pricing is published for each pattern within the collections.
Can I have samples of your tile for Hexagon Mosaic Tiles - White Black Ceramic Mosaic?
You can. Sample packs are available for purchase , or you can purchase an individual sample by visiting any tile page.
Installation & Care
How is the tile laid out? How will it arrive?
This all depends on your project. Generally we glue and lay out mosaics on mesh, which we then cut down and provide instruction so you can install them easily.(if it's custom). We also have collections that mould mounted for your reference. All of your tile will be packed in boxes securely and arrive to your place without any damage.
How do I install the tile for Hexagon Mosaic Tiles - White Black Ceramic Mosaic?
1.Lay out the location of the backsplash on the wall.
2.Apply thin-set adhesive to the wall using a notched trowel.
3.Position the sheet on the wall, and press it into the wet thin-set adhesive.
4.Use a utility knife to cut through the mesh on the sheet of tile around the outlet.
5.Cut the tile to size using a special tile saw that available for rent at tool centers.
6.Allow the thin-set adhesive to dry overnight.
7.Remove any protruding thin-set from the tile joints with a flat-head screwdriver.
8.Dampen the surface of the tile with water on a sponge before applying grout.
9.Use a rubber float to apply the grout to the tile joints, pressing the grout into the tile at a 45° angle.
10.When the grout starts to set, go over the tile surface several times with a sponge dampened with water to wipe off any excess grout.
11.After the grout has dried, use a soft cloth to remove any grout haze from the surface.